
What to Expect During Your First Vending Machine Installation
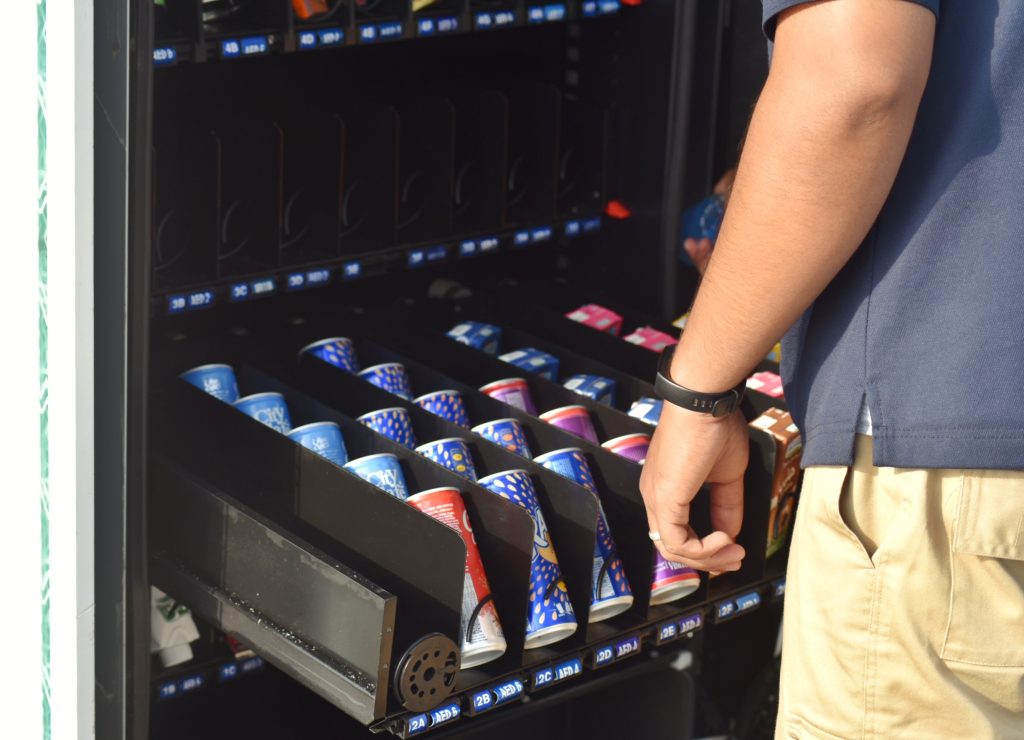
Adding a vending machine to your Central Florida workplace is an exciting upgrade that demonstrates your commitment to employee convenience and satisfaction. Whether you’re installing machines in a new office building, warehouse, hotel, or school, understanding the installation process helps ensure everything goes smoothly from initial consultation to the first successful transaction. Many business owners and facility managers feel uncertain about what vending machine installation actually involves. Will it disrupt daily operations? How long does it take? What preparation is needed? This comprehensive guide walks you through every step of the process, so you know exactly what to expect when bringing vending services to your facility for the first time. Before Installation: The Consultation Phase The installation process actually begins weeks before any equipment arrives at your facility. This planning phase is crucial for ensuring the right machines are placed in optimal locations. Site Assessment A reputable vending service provider will visit your facility to assess the space and understand your specific needs. During this walkthrough, they’ll evaluate several factors that influence machine selection and placement. Space Measurements: The provider measures available floor space, ceiling height, and doorway dimensions. Standard vending machines are typically 72 inches tall and 38-40 inches wide, but they need additional clearance for servicing and user access. Most installations require at least 48 inches of clearance in front of the machine. Electrical Requirements: Vending machines need dedicated electrical outlets. The assessment identifies whether existing outlets are appropriately located and whether electrical upgrades are necessary. Most modern machines require standard 110-120V outlets, but some larger combination units may have different requirements. Traffic Flow Analysis: Where do employees naturally congregate? What are the high-traffic pathways? Proper placement means machines are convenient without obstructing movement or creating bottlenecks. Environmental Conditions: Florida’s climate requires special attention to ambient temperature and humidity. Machines placed in non-climate-controlled areas or near loading docks face different challenges than those in fully air-conditioned breakrooms. Needs Assessment Beyond physical space, providers assess your organization’s specific requirements. Employee Count and Shifts: A facility with 50 employees on a single day shift has different needs than one with 200 employees across three shifts. Understanding your workforce helps determine machine capacity and product selection. Demographic Preferences: Office professionals may prefer healthier options and premium coffee, while manufacturing workers might want heartier snacks and energy drinks. Hotels need to consider guest preferences alongside staff needs. Budget and Service Model: Are you interested in a free placement program where the provider owns and maintains machines, or do you prefer to purchase equipment? Understanding your budget shapes the proposal. Custom Proposal After the assessment, you’ll receive a detailed proposal outlining recommended machines, placement locations, product selections, and service terms. This is your opportunity to ask questions, request modifications, and ensure the plan aligns with your vision. Pre-Installation Preparation Once you’ve accepted the proposal, there are several steps to complete before installation day. Site Preparation Clear the Area: Ensure the designated installation locations are completely clear. Remove any furniture, storage items, or obstacles from the installation zone and the path from the entrance to the installation site. Electrical Work: If your facility requires new outlets or electrical upgrades, schedule this work before the installation date. Most vending providers don’t perform electrical work themselves—you’ll need a licensed electrician to complete necessary modifications. Communicate with Staff: Inform employees about the upcoming installation, including the expected date, any areas that will be temporarily off-limits, and when they can begin using the new amenities. Access Arrangements: If installation occurs outside business hours or in secured areas, arrange appropriate access for the installation team. This might include providing key cards, security codes, or coordinating with building management. Documentation and Agreements Before installation, you’ll complete necessary paperwork including service agreements, payment arrangements if applicable, and any required insurance or liability documents. Review these carefully and ask about anything you don’t understand. Installation Day: What Actually Happens Understanding the installation process helps you know what to expect and how long it will take. Timeline Expectations For a standard single-vending machine installation, expect the process to take 2-4 hours from arrival to completion. Multiple machines or complex installations (like micro market setups) may require a full day or more. The installation team typically arrives with: The Installation Process Step-by-Step 1. Delivery and Positioning (30-60 minutes) The team carefully moves machines into your facility using professional equipment. Modern vending machines weigh 600-900 pounds when empty, so this requires specialized moving dollies and experienced handlers. They position machines in the pre-determined locations, ensuring proper spacing from walls for ventilation and service access. Machines must sit level—even slight tilts can cause dispensing problems—so the team uses leveling feet to achieve perfect horizontal positioning. 2. Electrical Connection (10-15 minutes) Once positioned, machines are plugged into designated outlets. The team verifies that outlets provide proper voltage and that circuits can handle the load without tripping breakers. Refrigerated machines draw significant power when their compressors run, especially in Florida’s heat. 3. Initial System Testing (15-30 minutes) Before stocking any products, technicians perform comprehensive system checks: Any issues discovered during testing are addressed immediately. 4. Product Stocking (45-90 minutes) This is when your vending machine truly comes to life. The installation team carefully stocks products according to the agreed-upon plan. Each product has a designated location, and experienced stockers know how to arrange items for optimal visibility and accessibility. For refrigerated machines, products are arranged to promote proper air circulation. Temperature-sensitive items go in the coldest zones. The team ensures all products are fresh, properly dated, and displayed attractively. 5. Final Testing with Products (15-20 minutes) After stocking, the team conducts test purchases to verify that every selection dispenses correctly. They test multiple payment methods—cash, card, mobile—to ensure all systems work properly under real-world conditions. 6. Training and Walkthrough (15-30 minutes) Before leaving, the installation team provides training for your designated staff members or facility managers. This includes: You’ll receive contact information for service requests, technical support, and routine questions. After Installation: The First Few Weeks The